The Best Scan-to-BIM Workflow for Existing Buildings
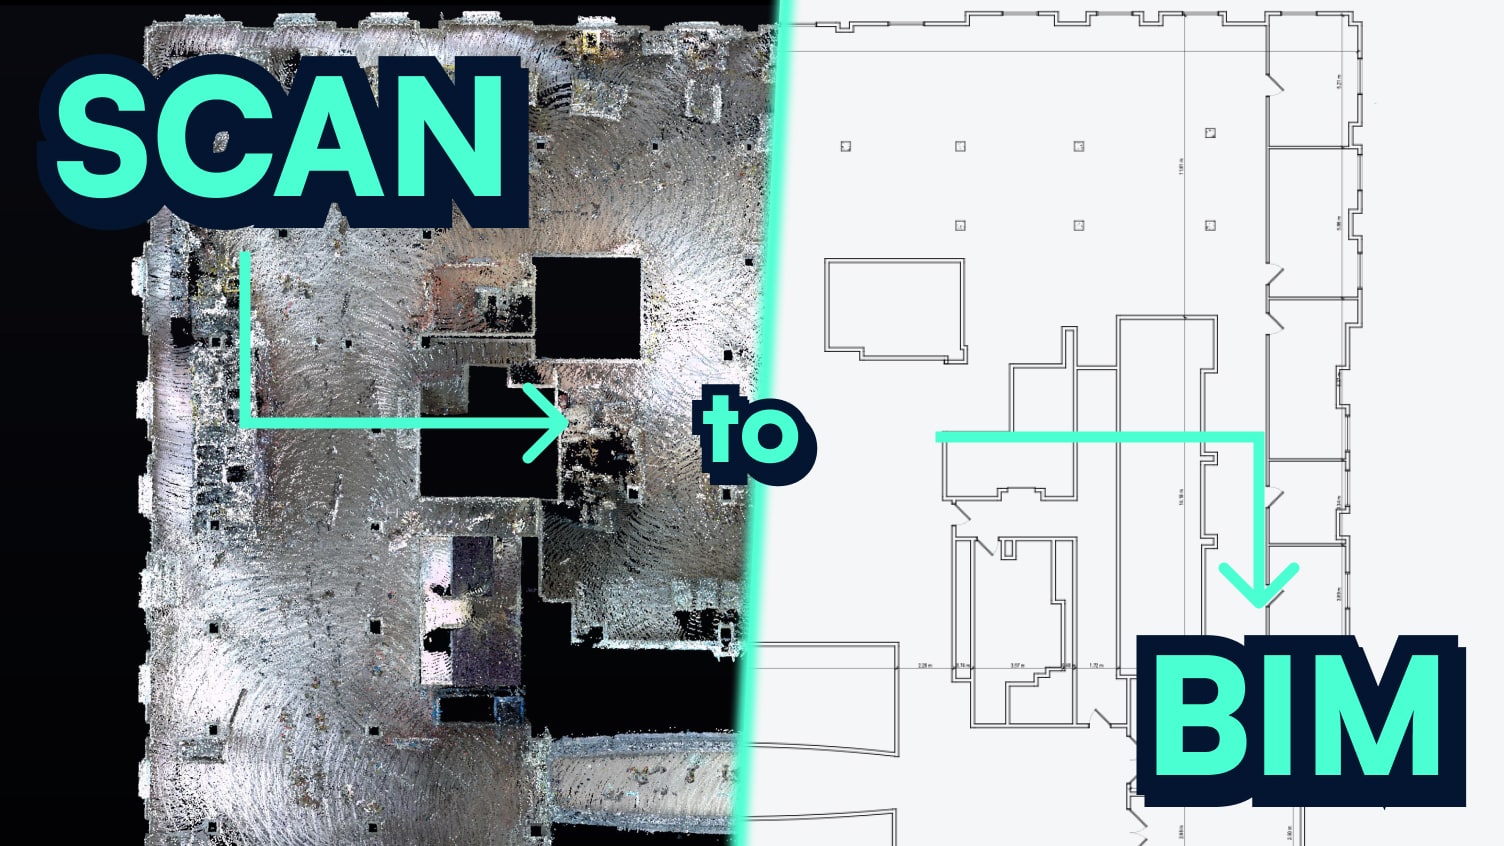
Every Scan-to-BIM project runs into the same problem: the building on site rarely matches the drawings in the folder. Walls have moved, services have been added, and the “as-built” pack is really an “as-designed” pack from ten years ago.
For architects, surveyors and BIM teams working on refurbishment, fit-out or asset documentation, that gap is where budgets and programmes usually get eaten up.
A LiDAR-based Scan-to-BIM workflow closes that gap. It replaces guesswork and repeat site visits with a measured, shareable record of the building as it actually exists, one that the whole project team can work from, from early design through to handover.
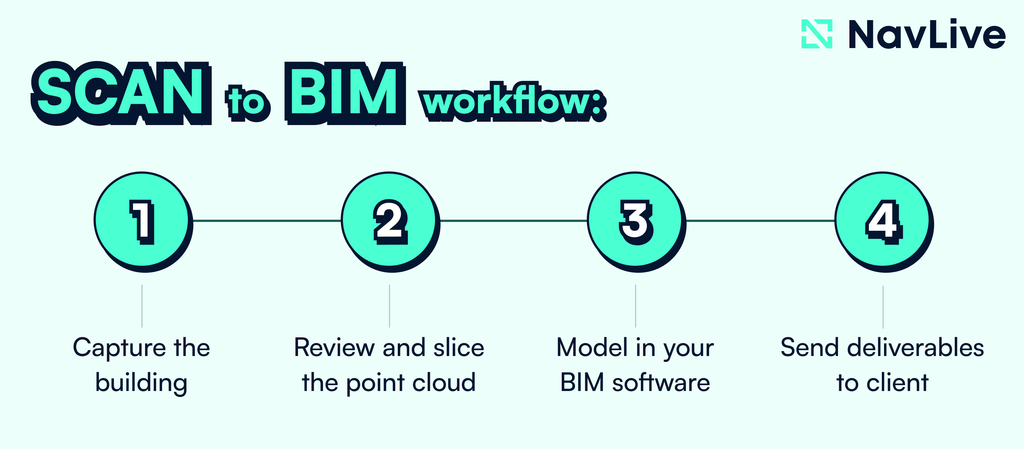
This article sets out a practical, four-stage Scan-to-BIM workflow using the NavLive handheld scanner:
- 1/ Capturing the building
- 2/ Reviewing and slicing the point cloud
- 3/ Modelling in Revit or other BIM software
- 4/ Delivering the final product to the client.
Why Scan-to-BIM Matters for Existing Buildings
Reality capture isn’t about collecting as much data as possible. It’s about giving the modelling team a reliable reference before design decisions are locked in. A point cloud on its own doesn’t produce a BIM model. What it does is remove the uncertainty that leads to abortive design work, coordination clashes, and last-minute site revisits.
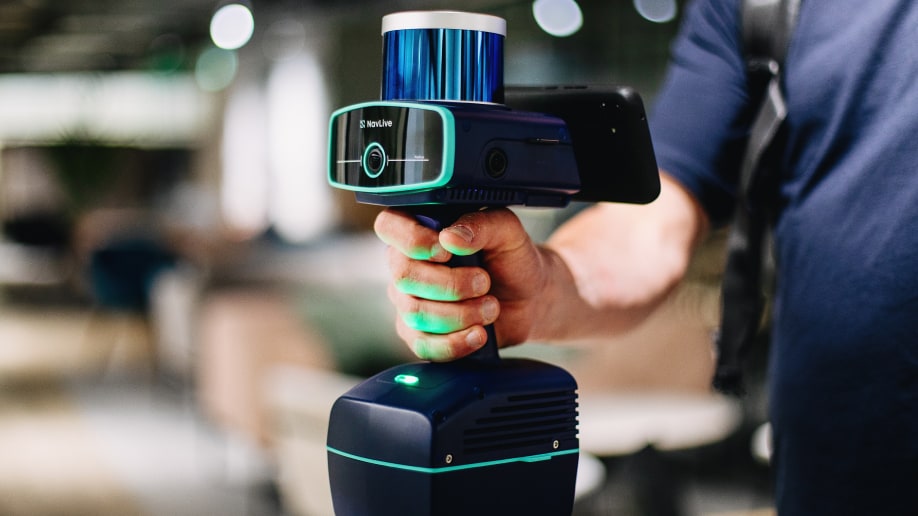
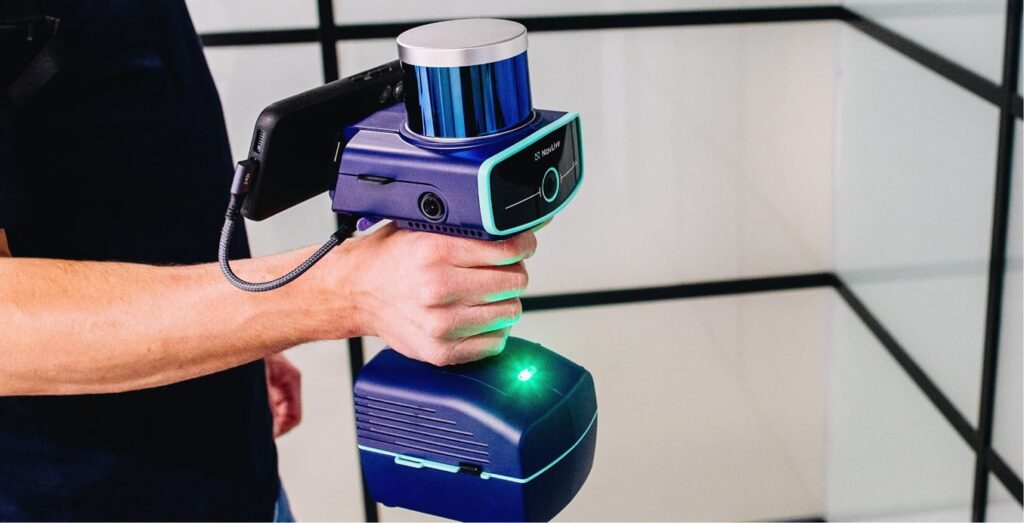
NavLive’s construction scanner captures a full building interior in a single handheld walkthrough, generating a 3D point cloud, AI-generated 2D floor plans and elevation views, and site photography, all to RICS Grade 1:100 accuracy.
Better yet, because processing happens on-device rather than in the cloud, there’s no upload wait and no site data leaving the device before the team is ready to work with it.
Stage 1: Reality Capture On Site
The workflow starts on site with a survey-grade, accurate handheld scanner rather than a tape measure. The aim at this stage is straightforward: capture every space the project needs, and check coverage before leaving the building.

- Plan the walkthrough before starting. Break the site into logical zones, floor by floor, or wing by wing on larger buildings. Note anything that will need particular attention, such as stairwells, plant rooms, risers, reflective glazing, or areas with restricted access. A short walk of the space before scanning starts helps the operator plan a continuous route rather than doubling back.
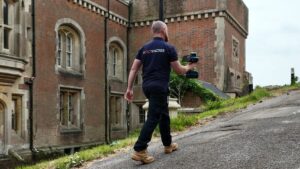
- Scan in a single continuous pass. NavLive is designed to be walked through a building rather than set up and repositioned like a static scanner. The operator moves through the space at a natural pace, and the device builds the point cloud in real time using SLAM (simultaneous localisation and mapping), so there’s no need to place targets or return to a fixed station between rooms.
- Check coverage before leaving site. Because NavLive processes on-device, the operator can review captured data on the spot, confirming that stairwells, corridors, and awkward corners have been picked up properly, rather than discovering a gap once back in the office. This is the single easiest point in the whole workflow to prevent a return visit.
- Capture context alongside geometry. Site photography taken during the walkthrough gives the modelling team visual reference for finishes, fixtures, and condition. Useful detail that a point cloud alone doesn’t convey, and important evidence for the client at handover.
TIP: A short walk of the space before scanning starts helps the operator plan a continuous route rather than doubling back.

Stage 2: Reviewing the Point Cloud and Creating Custom Slices
Back at the desk, the raw point cloud is reviewed before any modelling begins. This stage is where a lot of Scan-to-BIM value gets created (or lost, if it’s rushed).
- Review registration and completeness first. Check that the scan has aligned correctly throughout the walkthrough, with no drift between floors or wings, and confirm there are no unintended gaps (such as a locked door, an inaccessible plant room, or a corridor that got missed). Flagging this now, while the building is still fresh in memory, is far cheaper than discovering it mid-model.
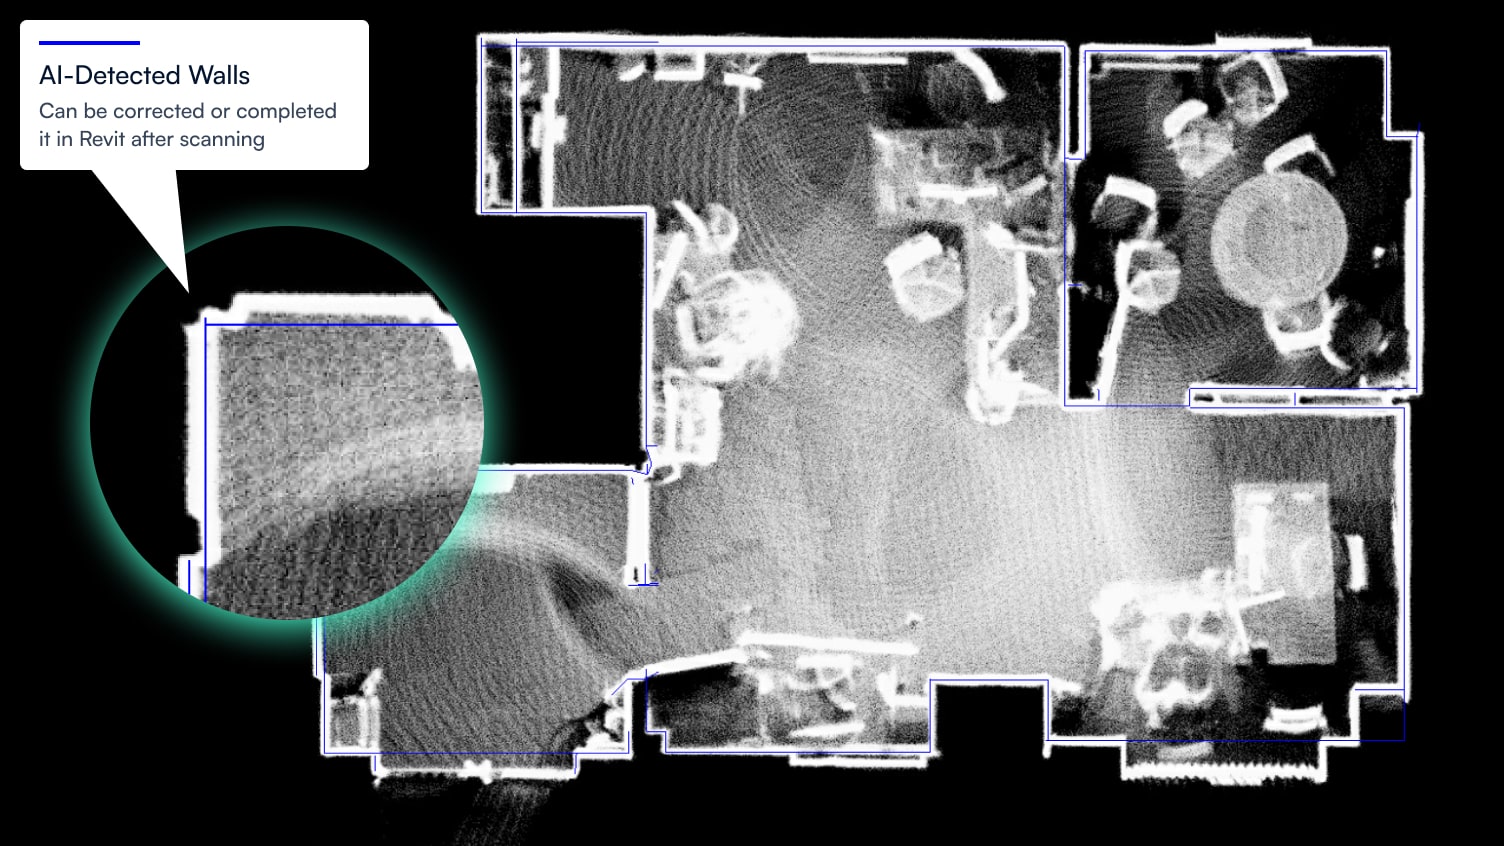
- Check the automatically generated AI floor plan as a working reference. NavLive produces a 2D floor plan directly from the point cloud (example below), giving the team an immediate layout reference without manual tracing. This is useful for early coordination and client sign-off on scope, even before detailed modelling starts.
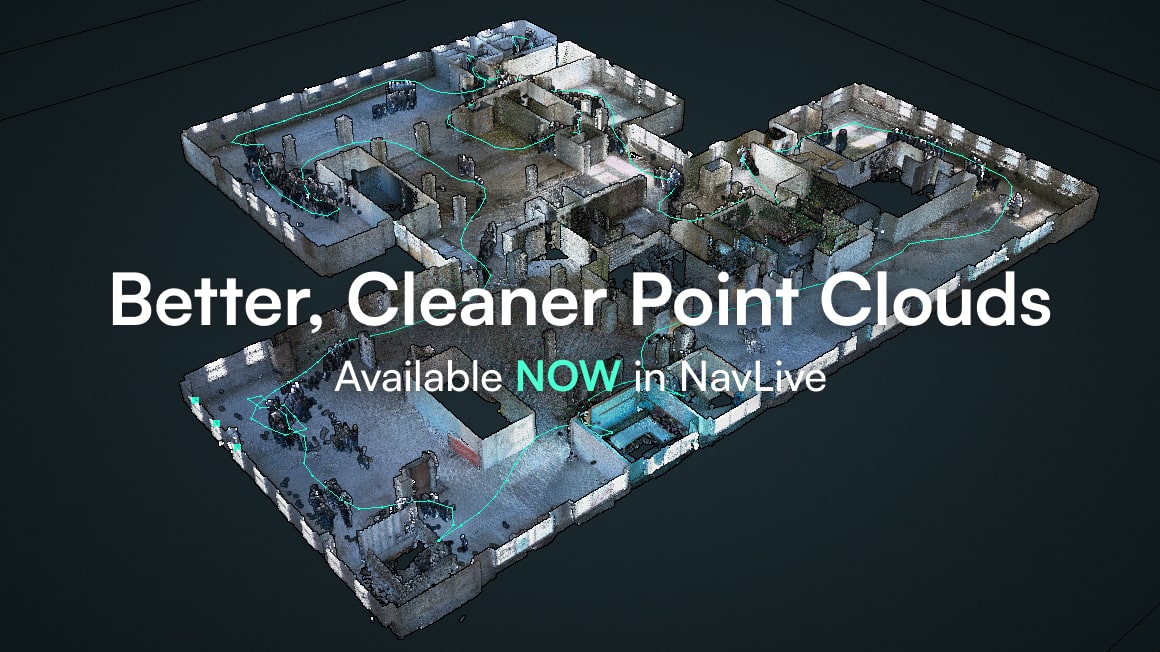
- Create custom slices through the cloud. Rather than modelling from the full 3D cloud, most BIM modellers work from 2D slices cut at useful heights. For example, a plan slice at sill height to capture window and door openings cleanly, a slice above furniture height to reveal wall lines without clutter, a reflected ceiling slice for services coordination, and vertical sections through stairwells or complex junctions. Cutting these slices deliberately, rather than working from a single default view, is what makes the difference between a fast, accurate trace and a slow one full of second-guessing.
- Export in a format the BIM software can use. NavLive supports Scan-to-BIM exports to DXF/CAD and Revit/AutoCAD, so the sliced and reviewed cloud can move straight into the modelling package without a conversion step.
- Start from AI-drawn wall lines, not a blank sheet. Alongside the point cloud and slices, NavLive exports a
modeling_line.dxffile. This file provides a set of wall lines that our AI has already drawn from the scan data. Rather than tracing every wall from scratch, the modeller opens this file in Revit and corrects or completes it against the point cloud underlay: adjusting a misread junction, adding a wall the AI missed, or tidying an opening. It’s a head start on the drawing, not a replacement for the modeller’s judgement.
Stage 3: Modelling in Revit or Other BIM Software
With a reviewed, sliced dataset in hand, modelling can begin on a solid footing rather than a guess.
- Set up the point cloud as a linked reference. Import the registered cloud (or the relevant slices) into Revit, AutoCAD, Archicad, or the BIM platform of choice, and use it as an underlay rather than tracing blindly. The same way a surveyed drawing would be used, but with far more detail available on demand.
- Bring in the AI-drawn wall lines as a starting point. Import the modeling_line.dxf alongside the point cloud, and use it as the first pass at wall geometry rather than starting from nothing. The modeller’s job shifts from drawing every wall to checking and correcting the AI’s version against the cloud. This is generally faster and less prone to the small tracing errors that creep in over a long modelling session.
- Model to the agreed level of detail (not more). Before modelling starts, the required LOD (level of detail) should already be defined: walls and openings only, full MEP coordination, or a fully detailed as-built model. Modelling everything visible in the cloud regardless of brief is a common source of wasted hours. RICS Grade 1:100 accuracy in the source data supports whichever LOD the project actually needs.
- Use the slices for the tricky geometry. Non-standard junctions, sloped ceilings, structural irregularities, and service routing are exactly where a single default view falls short. This is where the custom slices from Stage 2 (above) earn their keep, giving the modeller a clean, task-specific reference rather than a cluttered 3D view to interpret on the fly.
- Cross-check against site photography. Where the point cloud is ambiguous eg. a finish, a fixture type, a partial obstruction, the photography captured by the scanner during the walkthrough clears up any confusion without the need for a return visit.
Stage 4: Reviewing the Final Model and Delivering to the Client
The model isn’t finished until it’s been checked against the source data and handed over in a form the client can actually use.
- Run a quality check against the point cloud. Before sign-off, compare the completed model back against the original scan, confirming dimensions, wall positions, and openings match within the agreed tolerance, and that nothing was interpreted incorrectly during modelling.
- Package the deliverables to the agreed scope. Depending on what was scoped at the outset, this might include the BIM model itself, 2D floor plans and elevations, DXF/CAD exports, the underlying point cloud, and site photography, all bundled clearly rather than left for the client to piece together.
- Include a short handover note. A brief note covering what was captured, what wasn’t (and why), the coordinate/reference system used, and the intended use of each deliverable saves the client’s team time later and avoids the data being misapplied.
- Deliver without ongoing software costs. Because NavLive doesn’t rely on annual software licences, clients can keep and reopen the delivered data long after the project closes, without a subscription standing between them and their own building record.
Common Pitfalls to Avoid
- Scanning before the deliverable is defined. A large point cloud isn’t automatically a useful one. It’s best to agree what the model needs to show before the walkthrough, not after.
- Skipping the on-site coverage check. The cheapest moment to fix a gap is while the scanner is still in the building.
- Modelling from the raw cloud instead of purpose-cut slices. It’s slower, and it’s where avoidable errors creep in.
- Treating the point cloud as the finished product. It’s a measured reference, not a BIM model. Professional interpretation and modelling standards still apply.
A Workflow Built Around a Single Walkthrough
The strength of this workflow is that it doesn’t ask the project team to bolt reality capture onto their existing process. It’s designed around a single site visit with a handheld device, feeding directly into the modelling tools they already use.
Capture on site, review and slice the cloud, model in Revit or equivalent, and hand over a checked, well-documented deliverable, with RICS Grade 1:100 accuracy underpinning every stage and no annual software cost attached to the data once it’s delivered.
Want to find out more about the NavLive Scan-to-BIM workflow? Book a demo and speak with our team today.
Book your NavLive demo
![[Customer Story] From Site Scan to Revit Model in Under Two Hours](https://navlive.ai/wp-content/uploads/2025/11/bw-scanner.jpg)