Adding Notes
Adding notes can help you capture extra details as you scan—things you want to remember, follow up on, or share with your team later.
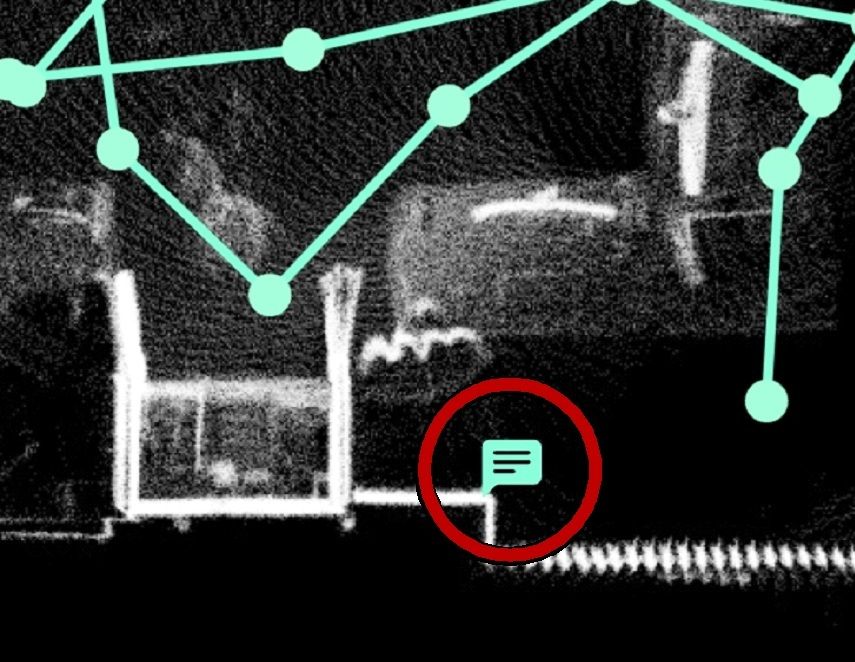
Notes that are added during your scan are saved with a location pin and an image from the front camera, so you can refer back to them later.
To add a note during your scan:
- Tap the Add Note button near the bottom left of the Scan screen
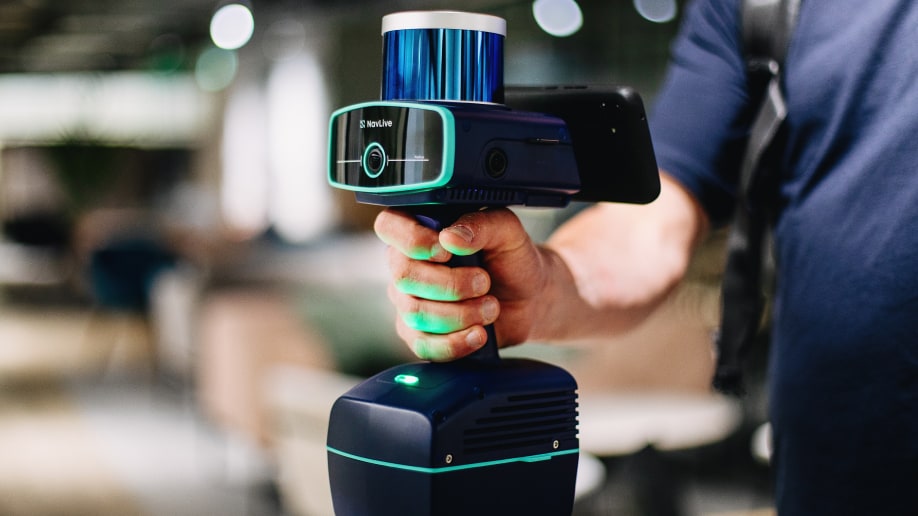
- Or, pull the trigger twice quickly on the NavLive Scanner handle
The Notes screen will open, showing a photo taken at that exact point and a space to write your note.
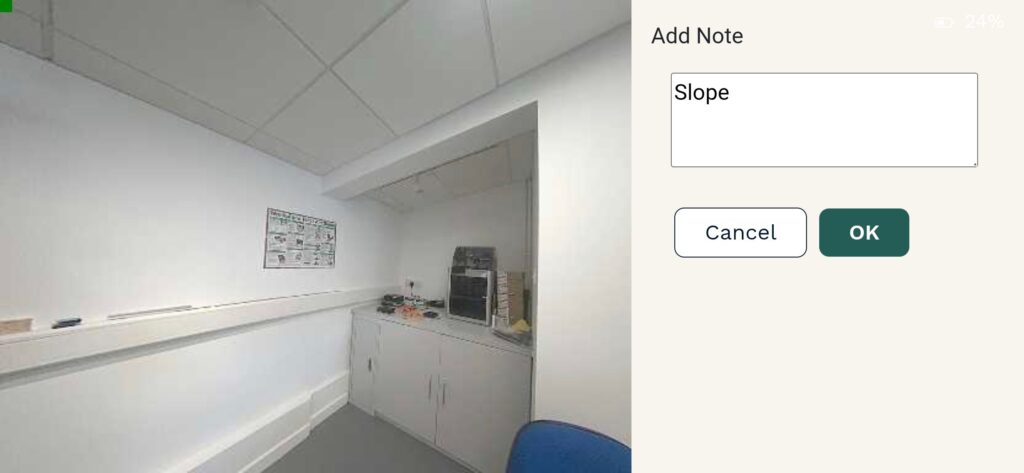
Enter your note, then tap OK to save it.
Your note is now pinned to that spot and can be viewed later in the Route View.